How to Clean a Coffee Grinder for Grinding Your Herb
If you're someone who enjoys the occasional session of grinding herbs, then you know how important it is to have a clean and well-maintained grinder. A dirty coffee grinder can not only affect the taste of your coffee but also have a negative impact on your herb. That's why in this blog post, we'll guide you through the process of cleaning your coffee grinder specifically for grinding your herbs.
We'll discuss the tools and materials you'll need, the step-by-step process, and even explore alternative methods for grinding your herbs. So, let's dive in and discover how to keep your coffee grinder clean and ready for optimal herb grinding!
Required Tools and Materials for Cleaning Your Coffee Grinder
Before you begin the process of cleaning your coffee grinder for herb grinding, it's important to gather the necessary tools and materials. Having the right equipment will ensure that you can effectively and safely clean your grinder. Here are the essential tools and materials you'll need:
1. Choosing the Right Cleaning Tools
-
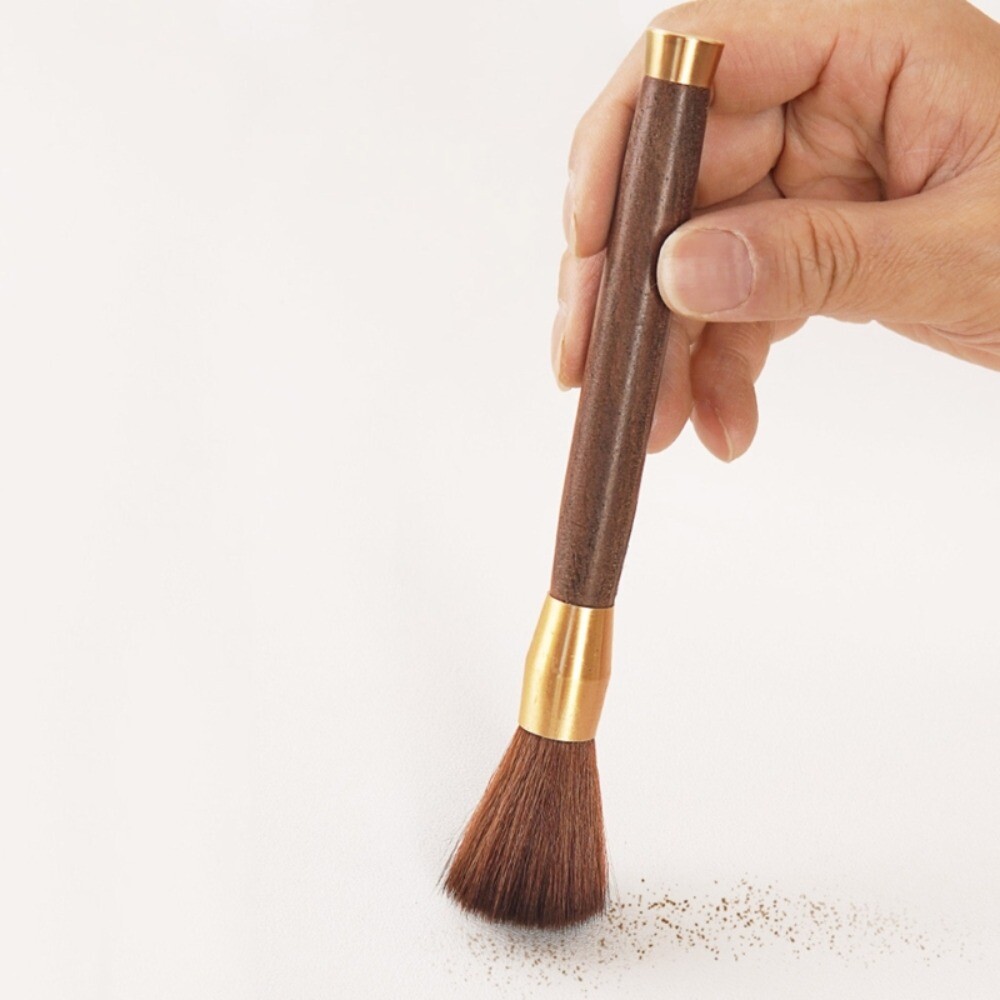
Soft-bristle brush: A brush with soft bristles is ideal for removing coffee grounds and residue from the grinder's burrs and other components. Look for a brush specifically designed for cleaning coffee grinders to ensure it is gentle on the grinder's surfaces.

-
Toothbrush: A clean and unused toothbrush can be handy for reaching crevices and hard-to-reach areas of the grinder.
-
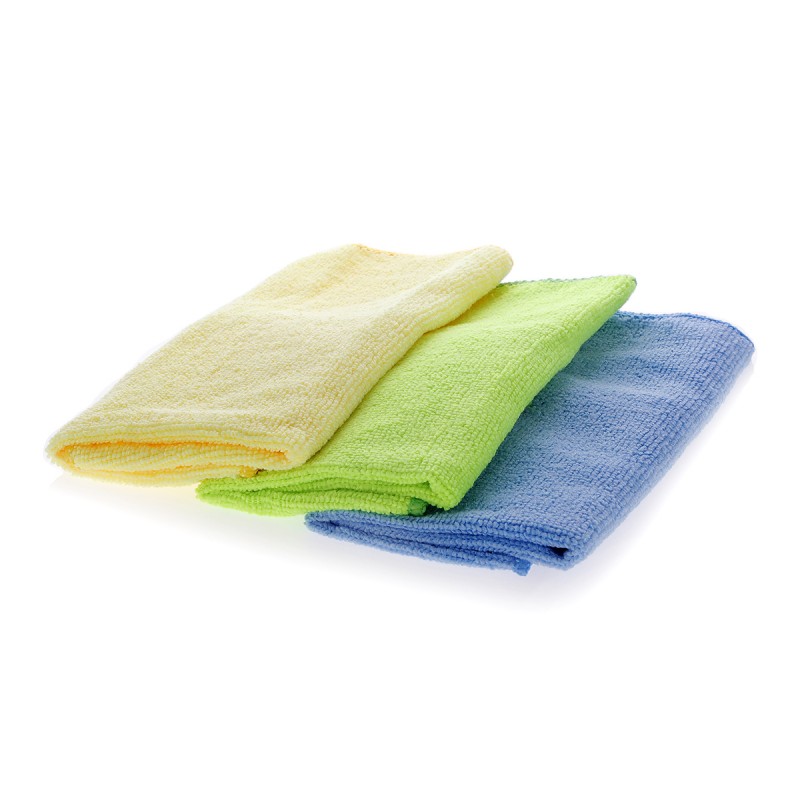
Microfiber cloth: A soft microfiber cloth is useful for wiping down and drying the grinder after cleaning.
Related Article: Blade vs Burr Coffee Grinders: Which is Better for Herbs?
2. Selecting Safe Cleaning Agents
-
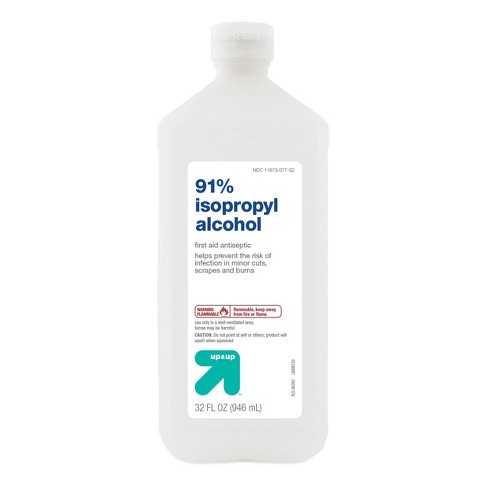
Isopropyl alcohol (90% or higher): Isopropyl alcohol is an effective cleaning agent for removing stubborn oils and residues from the grinder. Ensure that you use a high concentration (90% or higher) for optimal cleaning.

-
Dish soap: Mild dish soap can be used to clean the removable parts of the grinder, such as the hopper and collection chamber.
3. Preparation Before Cleaning
-
Empty coffee grinder: Before you start cleaning, make sure to empty any remaining coffee grounds from the grinder. This will prevent any contamination and make the cleaning process easier.

-
Unplug the grinder: Ensure that the grinder is unplugged from the power source to avoid any accidents or damage during the cleaning process.
Now that you have gathered the necessary tools and materials, you are ready to proceed with cleaning your coffee grinder. In the next section, we will provide you with a step-by-step guide on how to effectively clean your grinder for optimal herb grinding.
Related Article: Can Used Coffee Grounds Hide the Smell of Your Herb? Here's How to Do It
Step-by-Step Guide to Cleaning Your Coffee Grinder
Cleaning your coffee grinder for herb grinding requires a systematic approach to ensure thorough and effective cleaning. Follow these step-by-step instructions to clean your coffee grinder and prepare it for grinding your herb:
1. Disassembling Your Coffee Grinder
-
Unplug the grinder: Before you begin disassembling, make sure the grinder is unplugged from the power source.
-
Remove the hopper: If your grinder has a removable hopper, detach it carefully by twisting or unlatching it, following the manufacturer's instructions.
-
Empty the coffee beans: If there are any coffee beans in the hopper, empty them into an airtight container for later use.
-
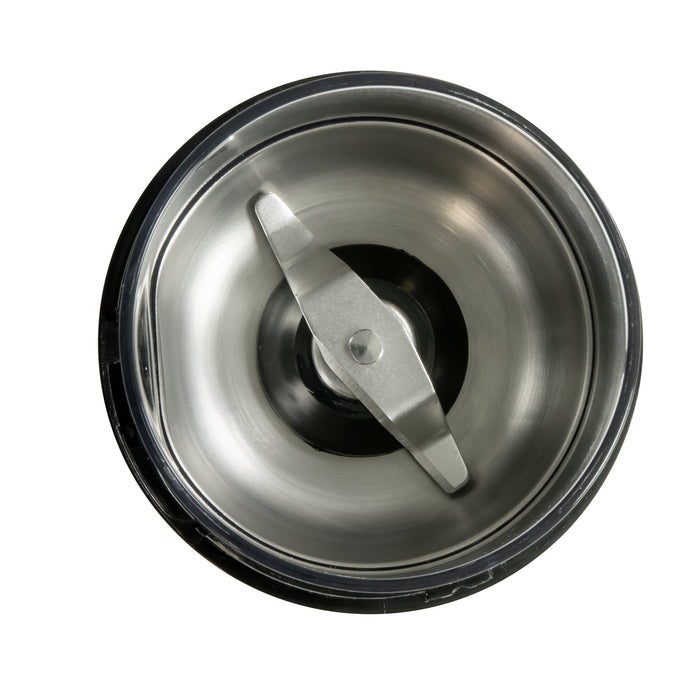
Remove the grinding burrs: Depending on your grinder's design, you may need to unscrew or release the grinding burrs. Refer to the user manual or manufacturer's instructions for guidance on how to remove the burrs safely.
-
Take out any removable parts: Check if there are any other removable parts, such as collection chambers or grind settings knobs. Remove them carefully for cleaning.
2. Cleaning the Grinder Components
-
Brush away loose particles: Use a soft-bristle brush to gently sweep away any loose coffee grounds and debris from the grinder's burrs and other components. Pay attention to hard-to-reach areas and crevices.
-
Soak removable parts: If there are any removable parts, such as the hopper or collection chamber, soak them in warm, soapy water. Use a mild dish soap and let the parts sit for a few minutes to loosen any oils or residues.
-
Clean the burrs: Take a toothbrush or a soft-bristle brush and carefully clean the grinding burrs. Brush away any remaining coffee grounds or buildup. For stubborn residues, dampen the bristles with a small amount of isopropyl alcohol (90% or higher) and gently scrub the burrs.
-
Wipe down the grinder body: Use a clean, damp microfiber cloth to wipe down the exterior surfaces of the grinder. Pay attention to any sticky or oily spots, and ensure that all visible residue is removed.
3. Reassembling Your Coffee Grinder
-
Dry the removable parts: After soaking, rinse the removable parts with clean water and dry them thoroughly. Ensure that there is no moisture left on any of the components.
-
Reattach the burrs: Carefully reattach the grinding burrs according to the manufacturer's instructions. Make sure they are securely fastened in place.
-
Put back the hopper and other parts: Return the hopper and any other removable parts to their original positions. Ensure they are properly aligned and securely attached.
4. Testing and Final Steps
-
Plug in the grinder: Once you have reassembled the grinder, plug it back into the power source.
-
Test the grinder: Run a small amount of coffee beans through the grinder to ensure that it is functioning properly. This will help remove any residual cleaning agents and prepare the grinder for herb grinding.
-
Empty the ground coffee: Discard the coffee grounds used for testing.
-
Clean the exterior: Use a clean, dry microfiber cloth to wipe down the exterior of the grinder, removing any fingerprints or smudges.
Related Article: Milk-Based Cleaning for Weed Grinders
Maintaining Your Coffee Grinder for Optimal Herb Grinding
After cleaning your coffee grinder, it is crucial to establish a regular maintenance routine to keep it in optimal condition for herb grinding. Proper maintenance ensures consistent performance, extends the lifespan of your grinder, and enhances the overall quality of your herb grinding experience. Here are some essential tips for maintaining your coffee grinder:
1. Regular Cleaning Schedule
-
Establish a cleaning schedule: Set a regular cleaning schedule based on your usage frequency. For moderate use, cleaning your grinder every 1-2 weeks is recommended. For heavy use, cleaning once a week or even more frequently may be necessary.
-
Brush after each use: After each grinding session, use a soft-bristle brush to remove any remaining coffee grounds or debris from the burrs and other parts. This quick brush-down helps prevent the accumulation of residues and keeps your grinder in better condition between deep cleanings.
2. Proper Storage of Your Coffee Grinder
-
Store in a dry and cool place: After cleaning your grinder, make sure it is completely dry before storing it. Choose a dry and cool location to prevent moisture buildup, which can lead to mold or mildew growth.
-
Use an airtight container for coffee beans: To maintain the quality of your coffee beans and prevent them from affecting the grinder, store them in an airtight container. This helps keep the grinder free from oils and residues that can impact the flavor of your herb.
3. Handling and Usage Tips
-
Avoid overloading the grinder: To ensure optimal performance and prevent strain on the motor, avoid overloading the grinder with too many coffee beans or herb at once. Follow the manufacturer's recommendations for maximum capacity.
-
Use fresh coffee beans and herbs: Using fresh coffee beans and herb ensures the best flavor and potency. Avoid grinding stale or old coffee beans, as they can leave behind unwanted flavors and odors in your grinder.
-
Avoid grinding oily beans: Oily coffee beans can lead to clogs and buildup in your grinder. If you prefer darker and oilier coffee beans, consider using a separate grinder specifically for those beans to minimize the impact on your regular grinder.
-
Be gentle when adjusting grind settings: When adjusting the grind settings on your grinder, handle the knobs or dials gently to prevent damage to the internal mechanisms. Consult the user manual or manufacturer's instructions for proper adjustment techniques.
By following these maintenance tips, you can ensure that your coffee grinder remains in excellent condition, providing consistent and high-quality herb grinding results.
Unlock a Cleaner, Better Herb Grinding Experience
With this comprehensive guide, you now have the knowledge and tools to clean your coffee grinder effectively for optimal herb grinding. By maintaining cleanliness and following proper maintenance practices, you can enjoy consistently ground herb with enhanced flavor and potency. Cheers to a clean and well-functioning grinder for your herb grinding endeavors!
Related Article: Guide to Cleaning Electric Herb Grinders

Leave a comment
Please note, comments must be approved before they are published